To share a session, you need to enable it first. To do this, edit the session card in the my sessions list. You will see a toggle switch. Switch this on.

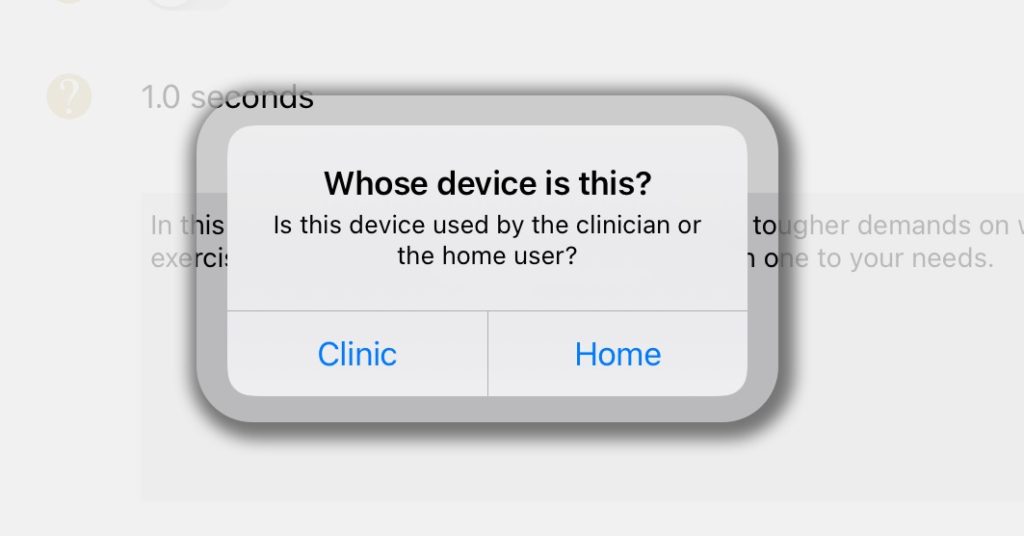
Now specify whether this device is for use by the home user or by the clinician.

If you choose ‘clinic‘ then Cuespeak configures the session on this device as being the clinician’s copy. You will need to send an initial copy to the client before they can begin their therapy session. Sharing this session with your clients WILL NOT send any results as part of session sharing.
If you choose ‘home‘ then Cuespeak configures the session on this device as being the home user’s copy. You can start working on your therapy session immediately. You will need to send your clinician a copy of your session so that they can review your progress and make any updates to the session. Sharing this session with your therapist or helper WILL include up to the last three months of results.
Oops, I did it wrong!
If you’re a clinician and you’ve set up session sharing with the wrong device type then you’ll probably find that you can’t see any of your clients results when they send you their session. To fix this, just disable session sharing, then re-enable it and choose the correct type of device when prompted. Now send this updated session back to your client.
Setting a default email
You can set the default email address that you would like this session to be sent to whenever you want to share it. According to the type of device you chose when enabling session sharing you will be prompted for the patient’s or clinician’s email address. An email address entered here, in the session card, will override any app-wide defaults you may have set.


Sharing enabled
That’s it. Your session is now ready to be shared. You will now see the session sharing icon throughout the app.
This icon will look slightly different depending on whether you’re a clinician or home user. Clinicians will see a little satellite receiver dish within the icon, while home users see the simplified icon.
